How to change rear wheel bearings
a step by step guide
This is the first in a series of articles on how to repair, maintain and keep your machine in top condition.
Wemoto Tip: You should replace all the bearings in one wheel at the same time. Put your new bearings in the freezer prior to installation - it will make the process easier!
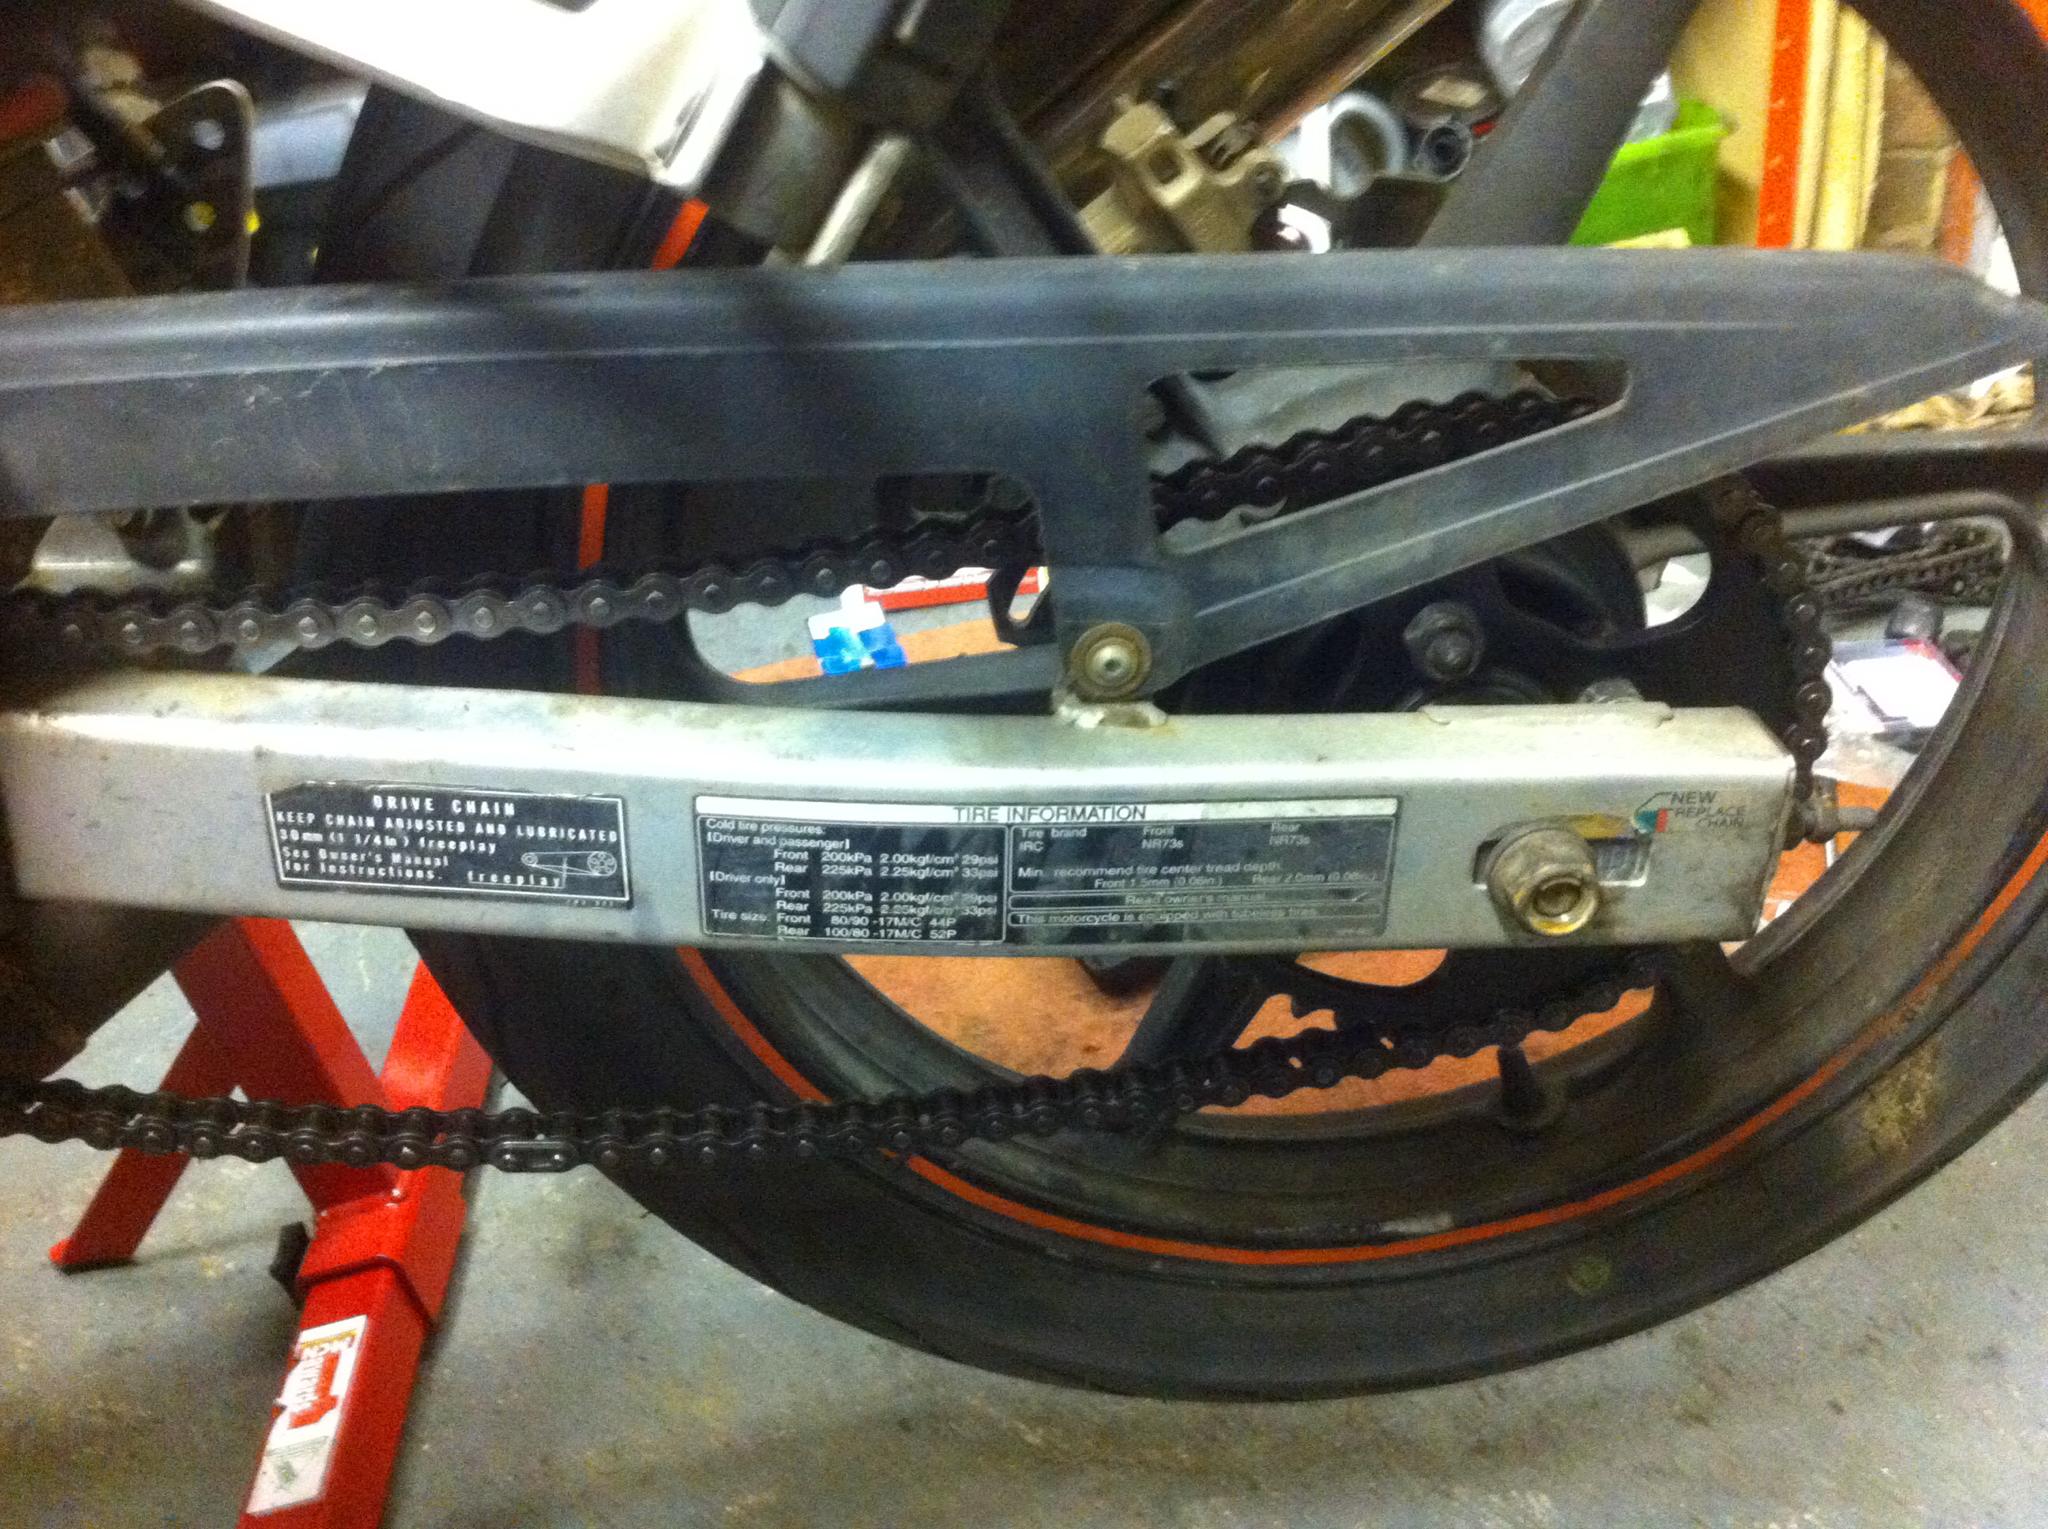
1.Raise the rear end of your bike onto an auxiliary stand
2. Slacken off the chain adjusters to the loosest setting
Wemoto Tip: The method of doing this will depend on the configuration of your bike. This one is a nut and bolt configuration chain adjuster
3. Take the nut off the wheel axle and remove the axle, noting the location of any spacers
Wemoto Tip: The wheel will drop instantly, so take care to support and lower it down
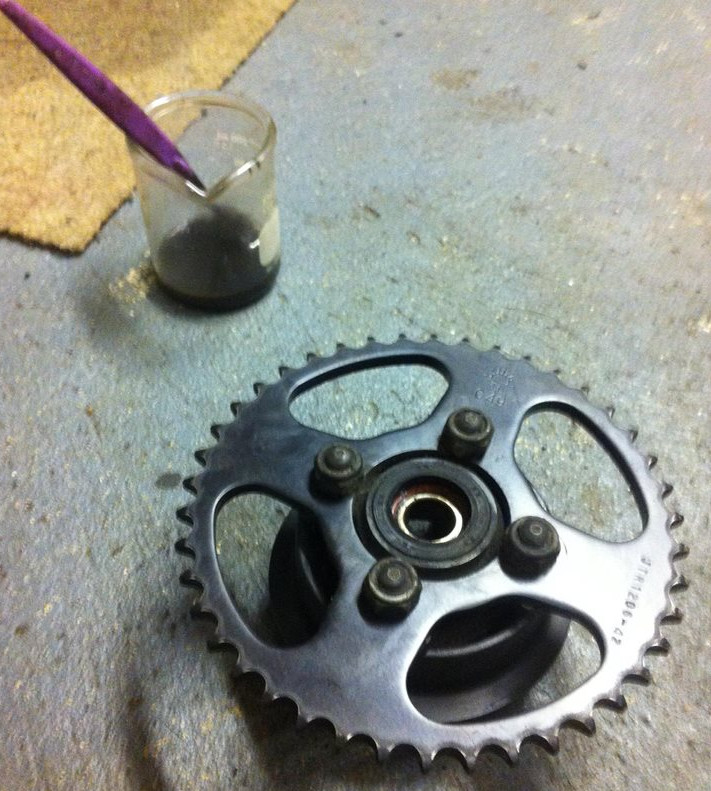
4.Remove the sprocket carrier from the wheel, noting which way the cush drive rubbers are installed
Changing sprocket carrier bearings
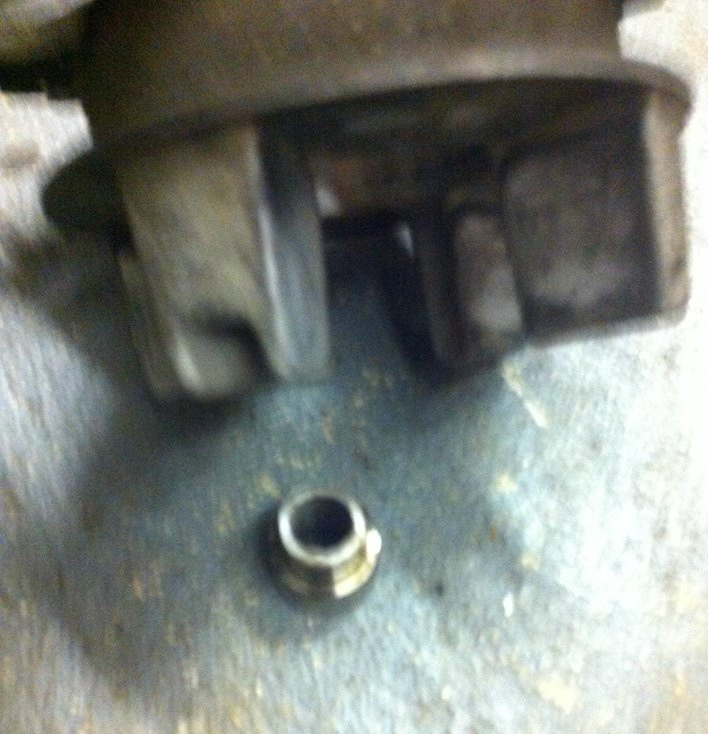
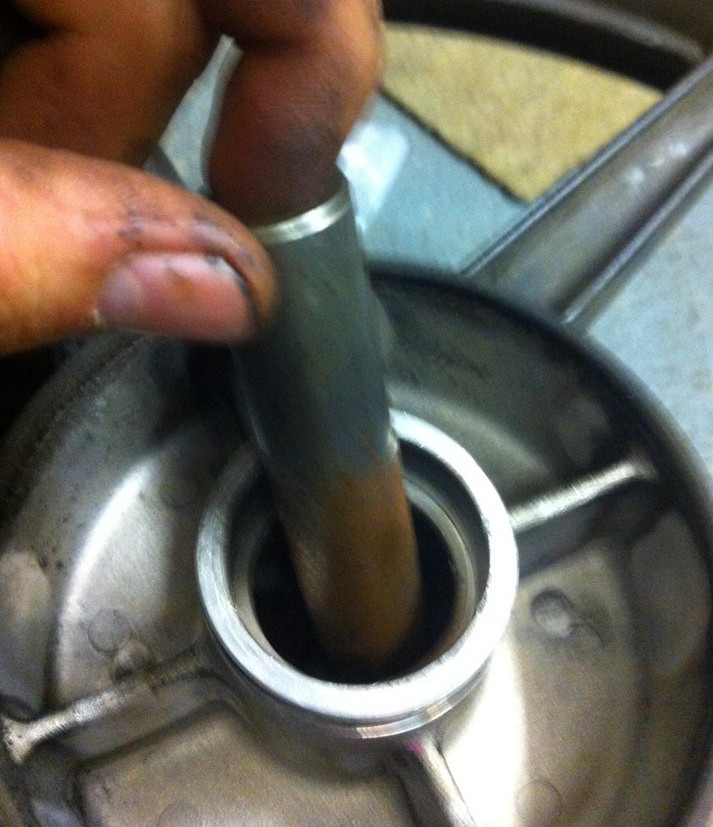
5. Some sprocket carriers have a little bush – you'll need to push this out towards the outermost side of the sprocket carrier
Wemoto Tip: pushing towards the front of the sprocket carrier might damage the bush
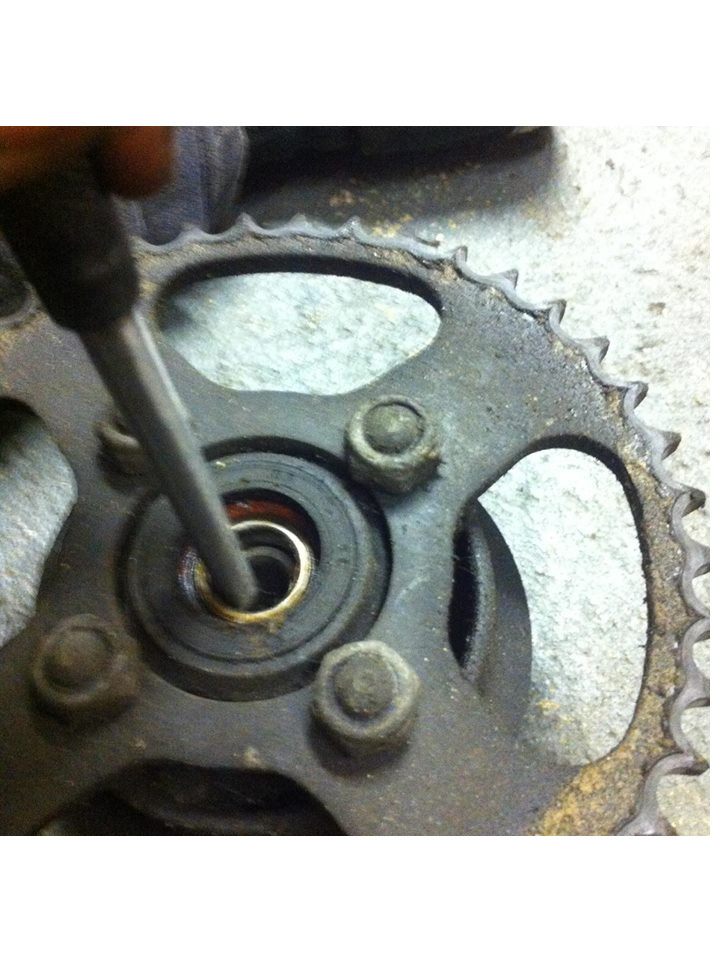
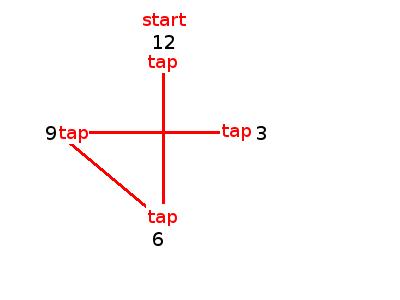
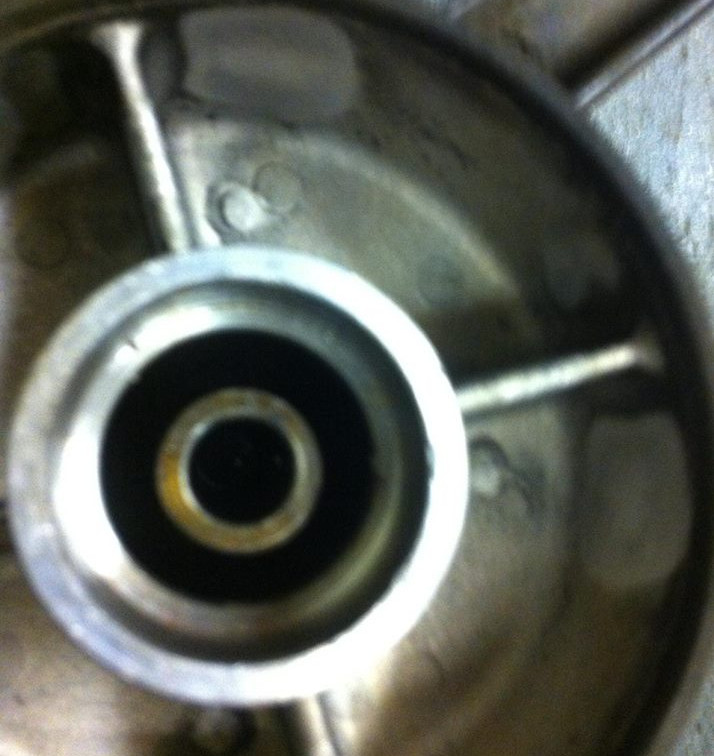
6. Flip the sprocket carrier over. Using a suitable drift on the outer ring of the bearing, tap the old bearing out in a 12, 6, 9, 3, motion so that it comes out evenly. This will drive the seal out at the same time. You could also do this using a
bearing puller
7. Clean the inside of the carrier where the bearing sits. This can be done using a suitable cleaning fluid, or, as in the photo, using a little petrol and a toothbrush
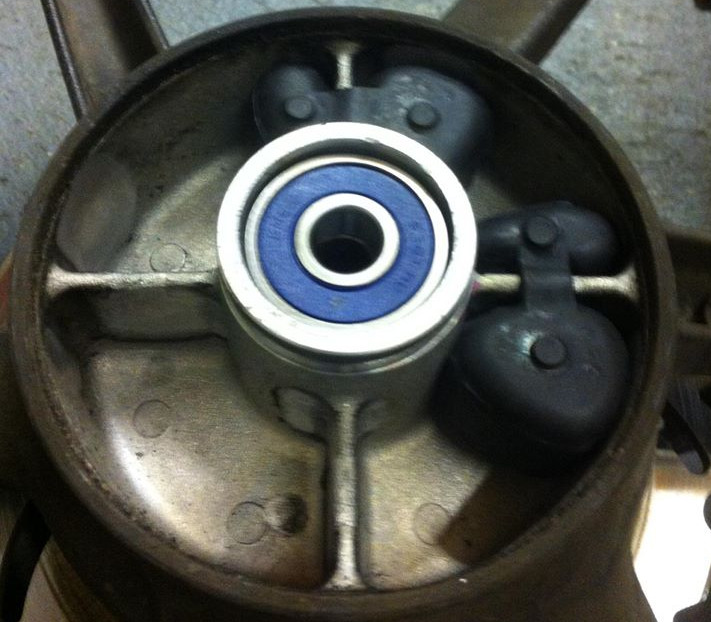
8.Make sure that the new bearing is centred and start tapping it using the outer ring. Either use the old race, or a suitably sized socket, placing it in front of the new bearing when tapping to avoid damaging the bearing. It should go in easily if frozen beforehand
Wemoto Tip: Do not put pressure on the inner ring as this WILL damage the bearing
9. Drive in your seals. You can either use a rubber mallet to do this, using the same 12, 6, 9, 3 motion as before; or you can use a seal driver
10. Replace the bush on the opposite side once the bearing is installed
Changing wheel bearings
11. Move the spacer between the bearings along, tapping it out of the way so that you can access the bearings
12. Tap the old bearing out using a drift (and the good ol' 12, 6, 9, 3) on the inner ring of the bearing
Wemoto Tip: This will damage the bearing so NEVER re-use
13. Remove the spacer from the wheel
14. Repeat for the other wheel bearing on the opposite site
Wemoto Tip: Either hold the wheel at an angle, away from the disc, or remove the disc completely. This is to avoid any damage to the disc
15. Install the bearings and seals using the same techniques as used to replace the sprocket carriers (see steps 7, 8, & 9)
Wemoto Tip: Remember to put the spacer in the middle of your two bearings. This will all need to be lined up properly, or the axle won't go through the wheel
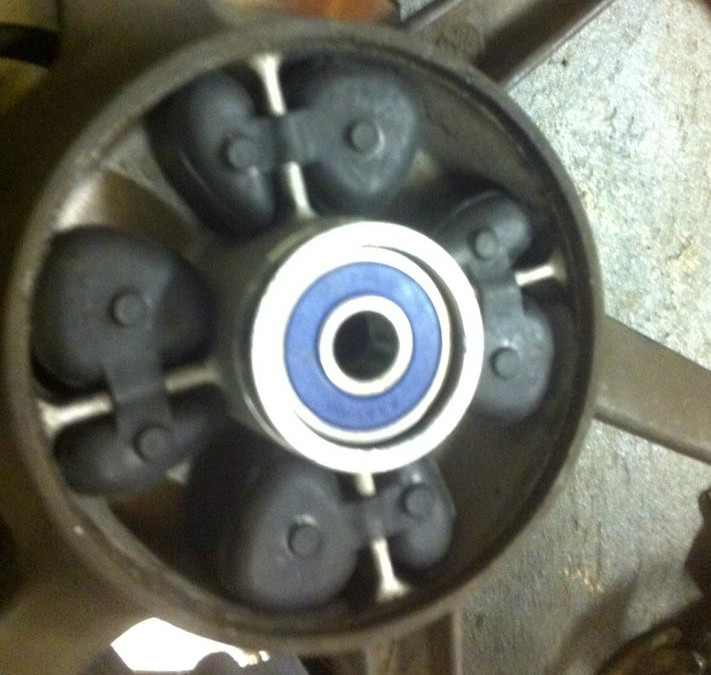
16. Once the bearings are installed, push in the cush drive rubbers (in this instance we replaced them with a new set)
17. Push the sprocket carrier back onto the wheel
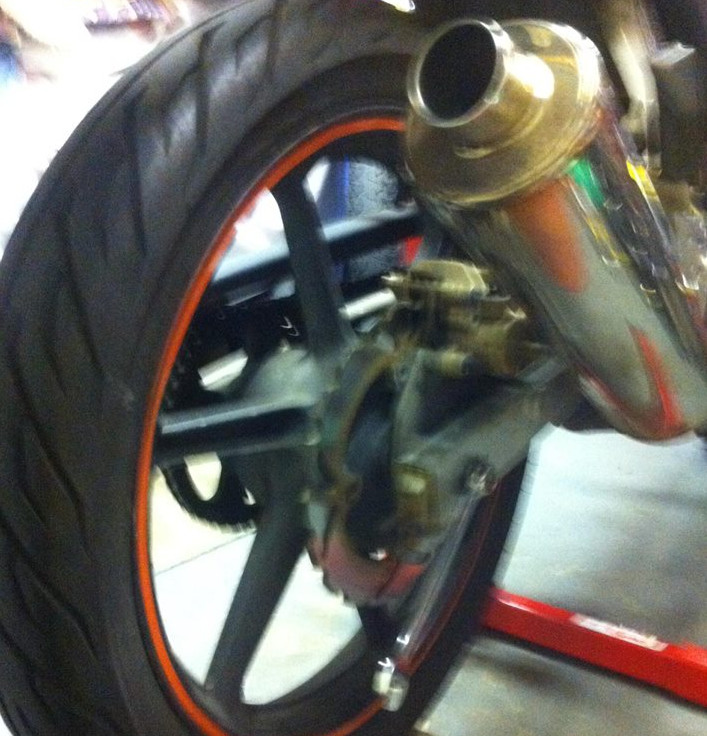
18. Put the whole wheel back into the swing arm, making sure the spacers are in the same location as before, and locate the brake disc into the caliper
19. Install the wheel axle and its nuts
Wemoto Tip: Refer to your owner's/technical manual for this
20. Using the chain adjusters, adjust the chain to the correct tension – it should have between 25-30mm slack
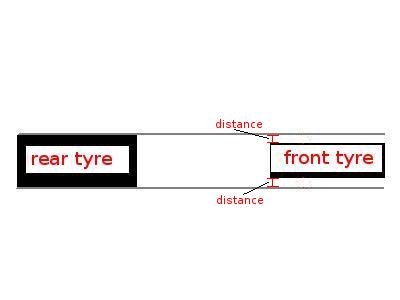
21. Check your rear wheel alignment. This should be done using two metal rods, going from the rear to the front wheel on either side of the bike. Each rod should touch the back tyre. You can then measure the distance between the rod (at the front of the bike) and the front wheel. If properly aligned, then the distances should be the same
22. Tighten axle to the specified torque settings
23. Press the lever a few times to prime the brakes
24. Spin the wheel to ensure free running
25. Check the spindle nut torque
Job complete!
This is a guide only. There is no substitute for hard-earned knowledge and experience.
If you are not confident in your own abilities, please seek the help of professionals.
We hope this guide has been useful. If you have any comments about it or any of your own tips, you can share them with us at
[email protected]. We'd love to know your thoughts.


 EN
EN