Project IT175F, week 3 and a half
Ah... Jerry's garage story continues apace...
Jerry Rulf
One man's meat is another man's poison.
Now not many people would be excited at getting a pile of rusty junk through the post, but I was - the bash plate, silencer and sprocket cover arrived from the breaker in America.
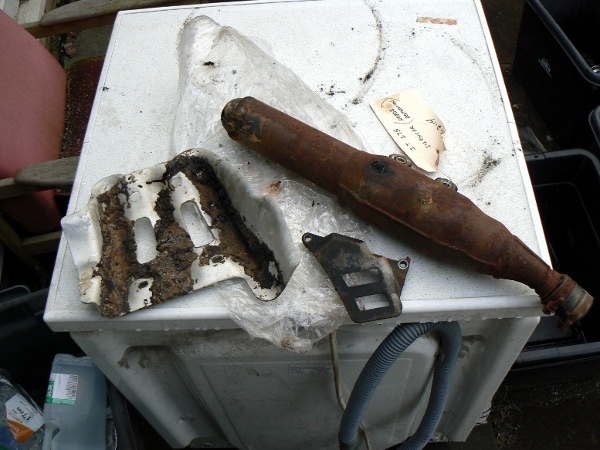
I got the silencer for the baffle and end cap which were missing from my bike- but I noticed that although the bits were listed as being from an IT175F, the silencer had two mounting holes, and mine only had one, fingers crossed then...The bash plate looked alright, but the stuff you can see on it isn't dirt, it was melted (and hardened) tarmac! A pain to get off as it turned out, but all ok in the end.
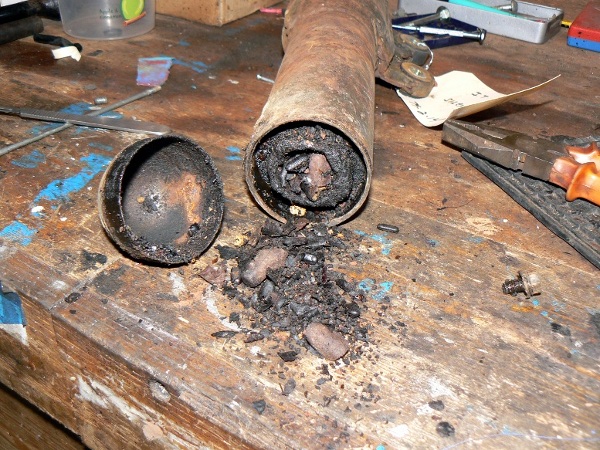
I laughed when I saw this! The silencer seems to have been used as an ashtray by a cigar smoker..!
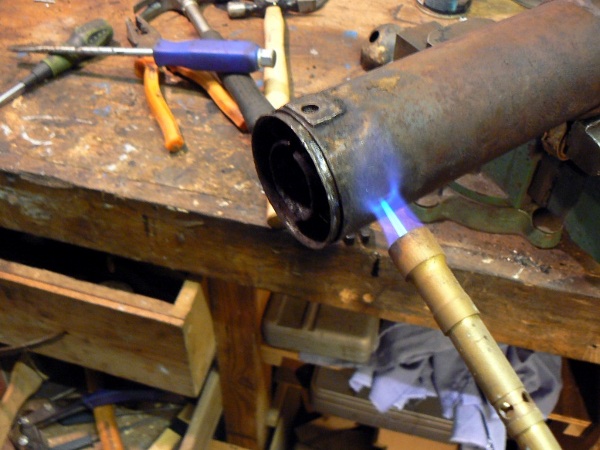
The baffle was totally stuck so I applied some heat- often the best way to get things separated I have found.
And magia potagia! It came free after a bit of encouragement. Unsurprisingly the wadding was solid with oil gunge and carbon.
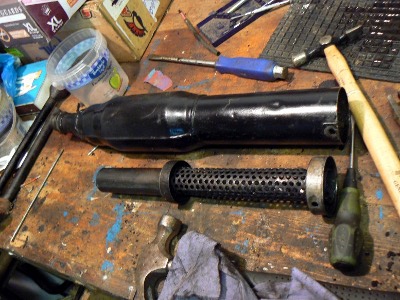
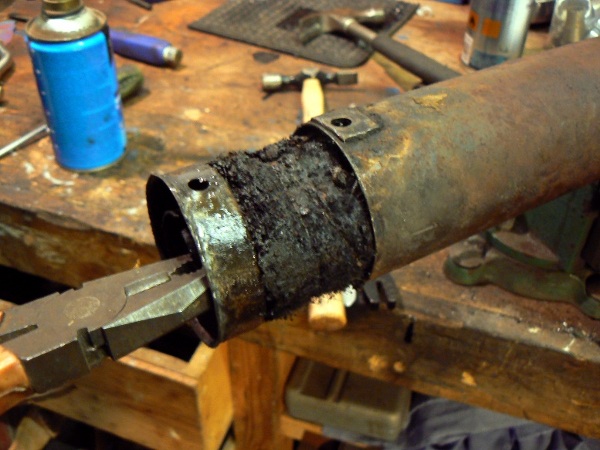
After lots of bashing, tapping, scraping and wire brushing I had these.
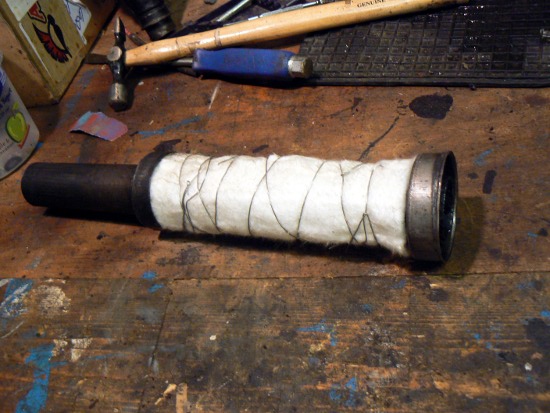
Here's the finished baffle with new wadding from Wemoto.
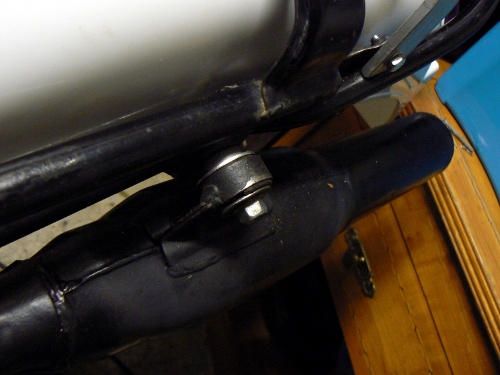
It went together fine, next I tackled the sheared bolts at the back of the frame- a couple of threads were sticking out, and luckily with the heat torch again, they turned and came out- phew! The silencer was a bit close to the mudguard so I spaced it a little bit away from the frame.
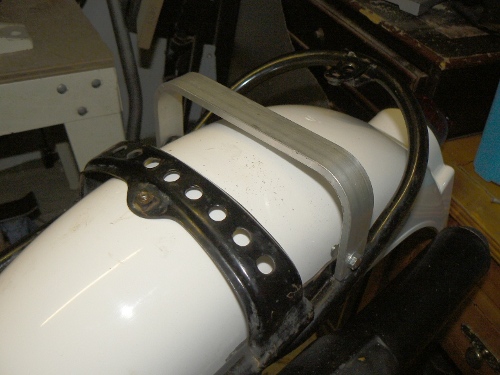
I made an alloy bracket to replace the missing item, with a flat top in case I put a topbox on it later.
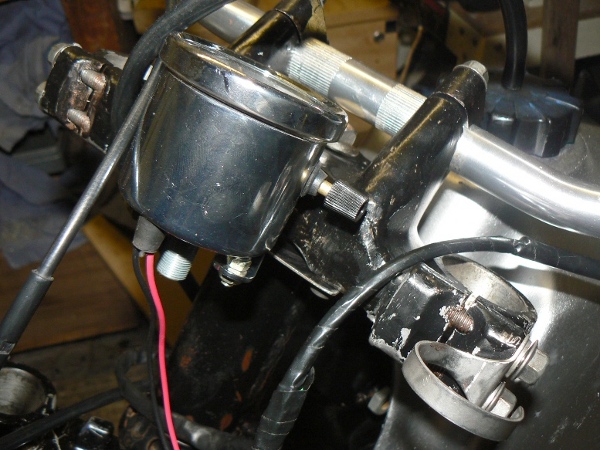
The aftermarket speedo needed a bracket too, so I made that and mounted it. The stock speedo cable fits, luckily.

The original rubber strap was missing at the back of the tank, so here's a good tip - a hair band does the same thing. I avoided having to browse around Claire's accessories by simply stealing one from the basket on the dressing table.
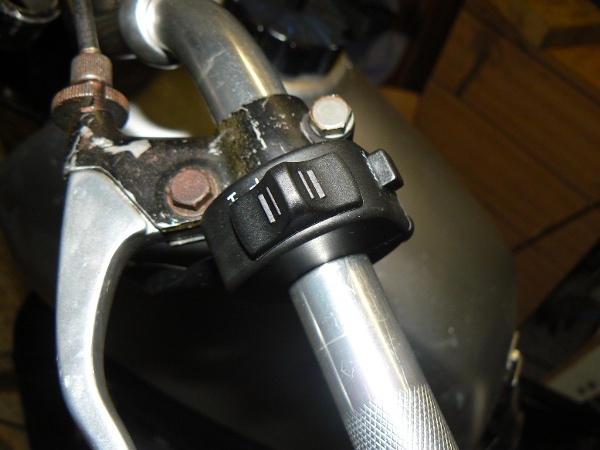
The switchgear on the bike was basic and totally broken- I fitted this lovely mini cluster from Wemoto in it's place. Kill, High, Low, Off. That might be the name of my next CD.
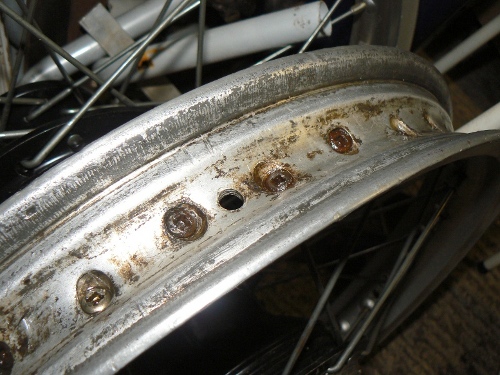
The wheels...ah the blooming wheels... this is where the headaches are. They looked alright in the advert pictures. With the tyres off I could get at the loose spokes. The front wheel had one loose spoke, and I managed to get it off, clean and oil the thread, then it tightened up with only finger pressure, a final tweak and it was sorted! Hoorah! So now the back wheel... Two broken spokes and three loose ones. The broken spokes will be replaced with a set I've ordered from Bangkok via ebay. The loose spokes got the same thorough treatment as the front one, and tightened up nicely as a result.So now I've only got the two spokes to replace, and put new tyres and tubes on, and I can sling it all back together!
And then...
The front forks are in my local bike shop waiting to get the Wemoto seals put in - I discovered on an Aussie Vinduro forum that you need a super long extension for a 19mm allen key to get the forks apart.
Next I've got to choose tyres - I'm going to mainly ride on the road, any suggestions on a decent roadish trail tyre are welcome.
Pip pip!
Ah that man and his rusty bits - truly a labour of love - any comments or helpful suggestions for Jerry email us at
[email protected]
There is a mind blowing revelation to come next week about Jerry's bike - watch this space...

 EN
EN TH
TH UK
UK