28 October 2015
a step by step guide
This is the second in a series of articles on how to repair, maintain and keep your machine in top condition.
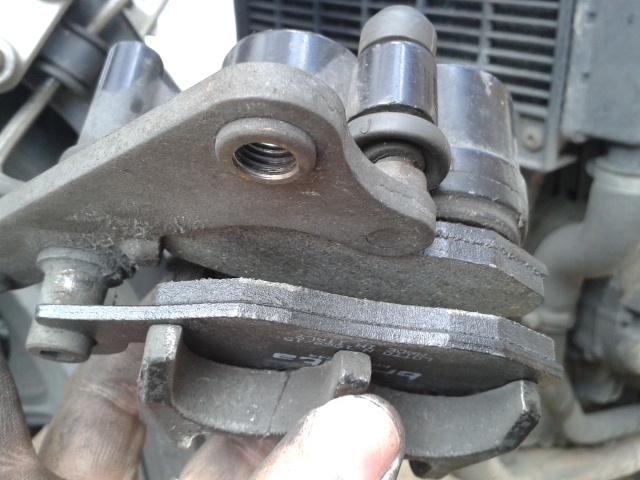
1. Remove the caliper mounting bolts along with the caliper |
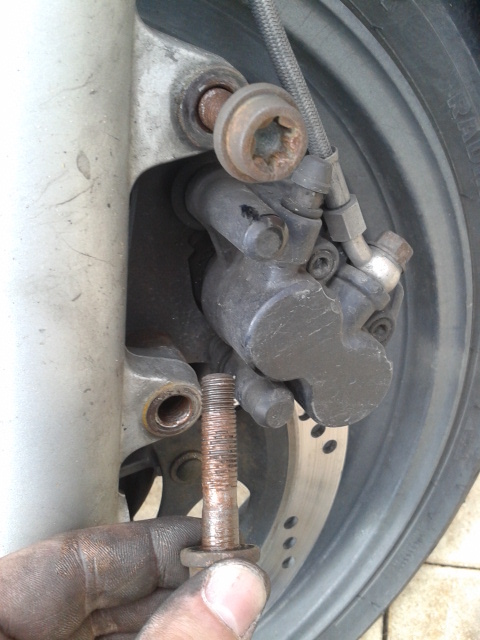 |
2. Remove the pad retaining pins/bolts if applicable |
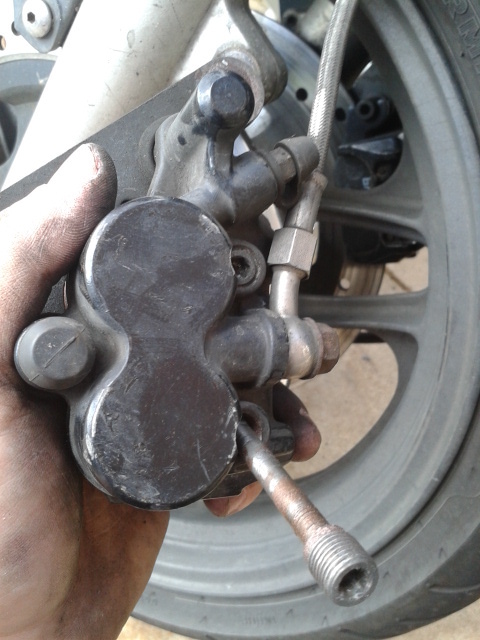 |
3. Remove one pad (this should come out easily) Wemoto Tip: Clean the pistons of dirt and grit before pushing them home, to avoid damaging the seals |
|
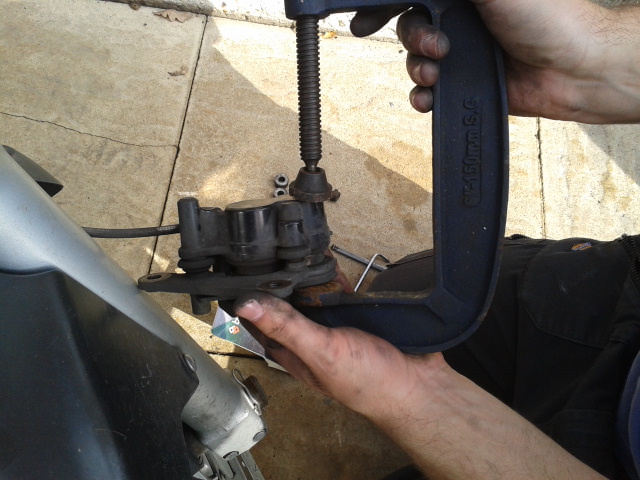
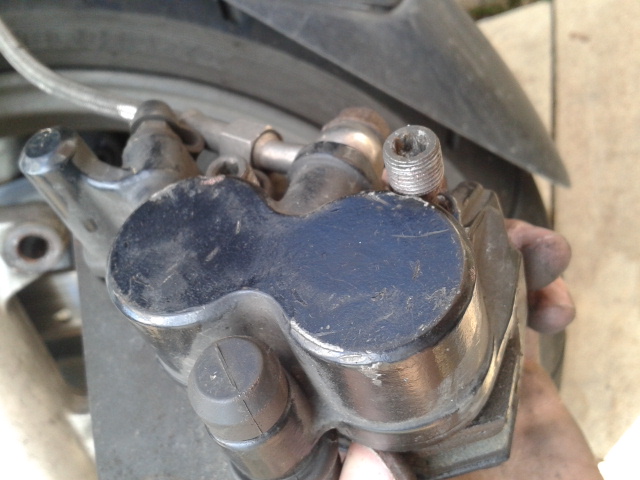
4. Press the other pad up against the piston(s), and push it/them into the caliper using a g-clamp, a vice, or your hands. Wemoto Tip: This creates space so that removing your second pad, and putting your two new pads in, will be much easier. |
 |
5. Your other pad should now fall out |
|
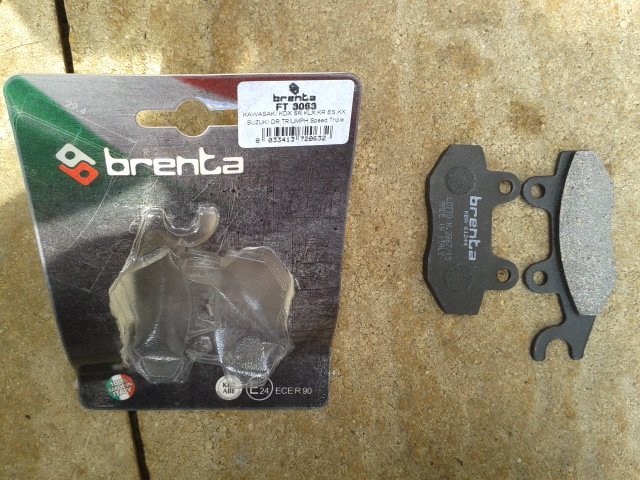
6. This is a good time to make sure that your new pads look the same as the old ones and check the integrity of your seals |
 |
7. Place the new pads in, the same way the old ones came out; normally, if one has a hook it is the first out and the last in. Wemoto Tip: There should be enough space between your new pads to allow them to go either side of your disc. If there isn't enough space, you'll need to push the pistons back further until it's possible |
 |
8. Once both pads are in, place the retaining bolt back into place. |
 |
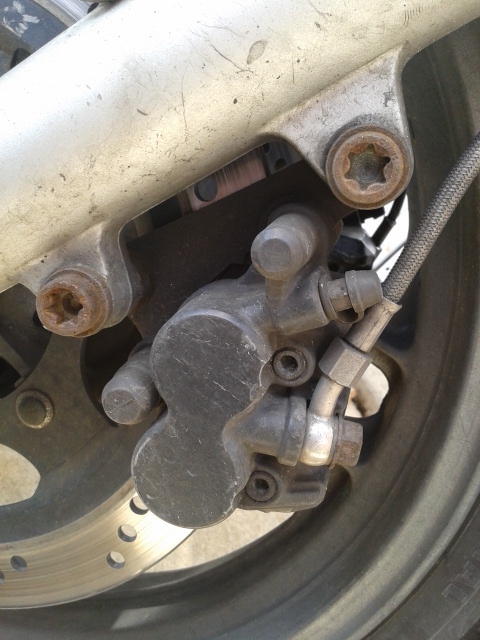
9. Align the pads either side of the disc as you put the caliper back into place Wemoto Tip: You can put something in between the pads to hold them apart. Just be careful not to scratch them. |
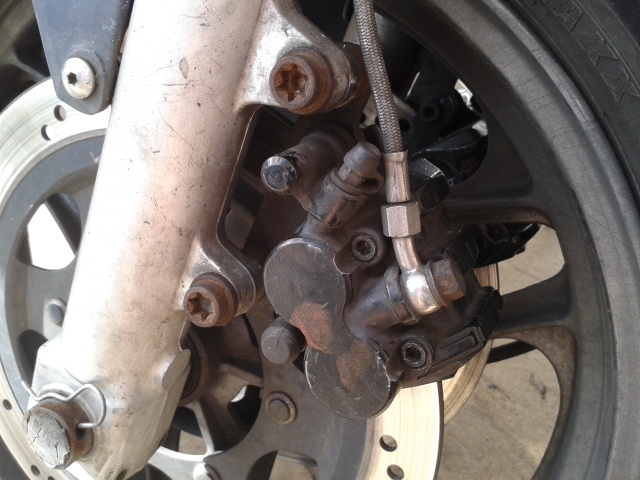 |
10.Make sure the disc locates between the two pad's friction surfaces, and that the pads are facing towards the disc. |
|
11. Make sure you have tightened all the bolts to the correct tension as given in your workshop manual, using a spanner or a ratchet |
 |
12. Pump the brake lever a few times, pushing the piston(s) back out, so they bind to the disc |
|
13. Spin wheel to check free running. Check torque on mounting bolts and pins Job complete! |

 EN
EN