This is a guide only. There is no substitute for hard-earned knowledge and experience. If you are not confident in your own abilities, please seek the help of professionals.
1. Remove the previous exhaust system. Where applicable, refer to owners'/ technical manual. |
|
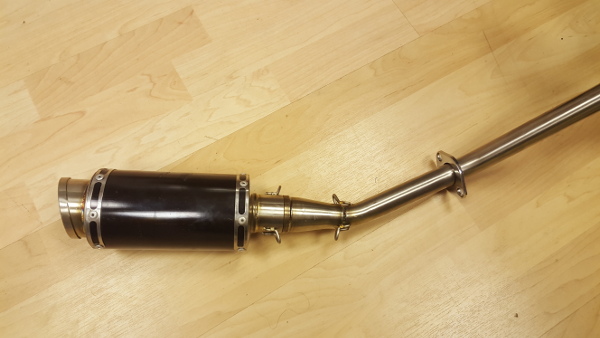
2. Slot the silencer onto the down pipe using exhaust paste/ sealant. |
 |
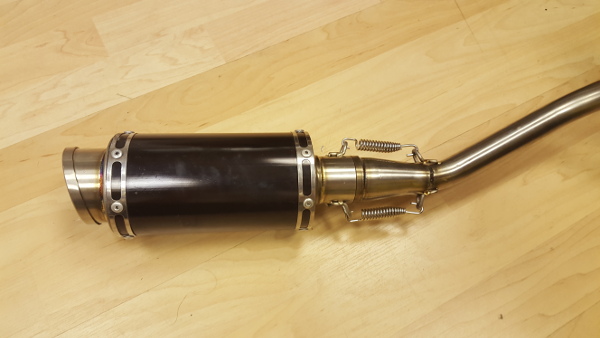
3. Secure the silencer onto the down pipe by using the provided springs. An exhaust spring hook may be required to install these, as the springs will be under tension. |
 |
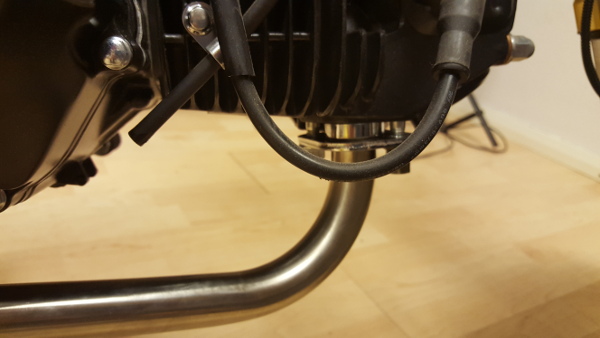
4. Slot the flange end of the down pipe into the manifold of the engine and loosely fit the original exhaust nuts so the system can freely rotate. |
 |
5. By hand, bend the provided exhaust strap around the silencer. |
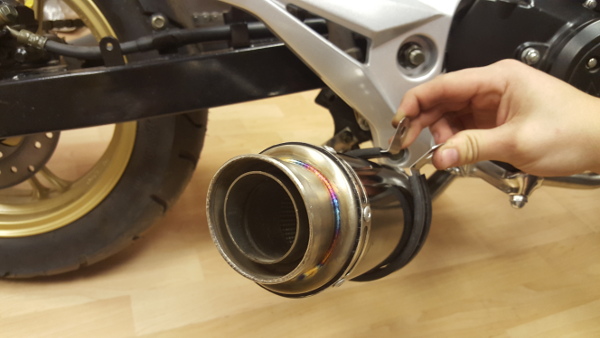 |
6. Remove the upper mounting bolt from the rear brake master cylinder and fit the exhaust bracket supplied (Note: This bracket may require alterations to the angles for correct fitment). |
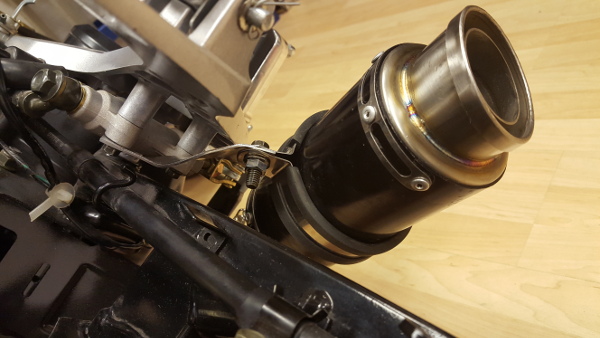 |
7. nstall an original, or suitable, exhaust mounting nut and bolt through the exhaust mounting bracket and the exhaust strap. |
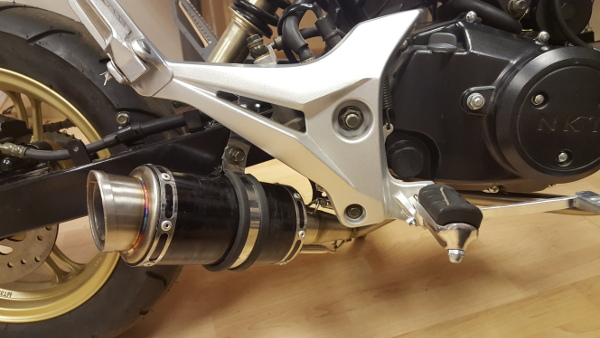 |
8. Tighten all bolts to manufacturers' torque settings where possible and check all items are not loose once complete. |

 EN
EN